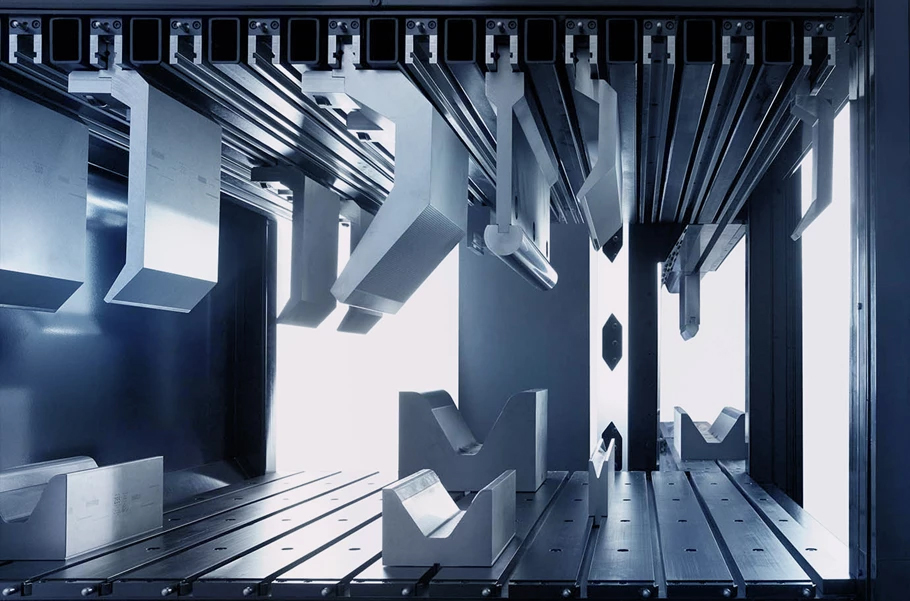
Press brake punch and die selection is critical for achieving precision, efficiency, and safety in bending operations. Follow this systematic approach:
Type: Steel, stainless steel, aluminum, etc. (e.g., stainless steel has higher springback than mild steel).
Thickness (T): Dictates die load capacity (e.g., 2mm sheet requires narrower V-die than 10mm).
Length: For workpieces >1.5m, use segmented or extended dies to prevent deflection.
Bend Angle: Sharp angles (<90°) need acute-angle punches; obtuse angles (>90°) require gooseneck punches.
Complex Shapes: Hemming, offset bends, or radii demand specialty dies (e.g., flattening dies + offset dies).
Parameter | Guideline |
Tip Radius (R) | R = 0.8–1.2 × T (e.g., T=3mm → R=2.4–3.6mm) |
Angle (α) | Standard: 86°, 88°, 90°. Use 30° acute punches for sharp bends. |
Shoulder Height | Must exceed flange height (H ≥ flange height + 2mm). |
Parameter | Guideline |
V-Opening (V) | Key Formula: V ≈ 6–12 × T (Mild steel: 6–8T; Stainless/Al: 8–12T) |
Angle (β) | Match punch angle (standard 90°±2°). |
Strength | For thick plates (T>6mm), use multi-V dies (e.g., V12/V20) to handle varying loads. |
Critical Rule: Minimum flange height ≥ V/2 + T + R (to avoid interference).
Die Type | Application | Pros/Cons |
Straight Punch | 90° bends, box-shaped parts | Cost-effective, versatile |
Gooseneck Punch | Clearing obstacles (e.g., flanges) | Enables closed shapes; lower rigidity |
Acute-Angle Punch | Sharp bends (30°–60°) for electronics/aesthetics | Requires high tonnage; wears faster |
Segmented Die | Localized/long-part bending | Flexible; demands precise alignment |
Radius Die | Tubes, curved surfaces | No marks; superior surface finish |
Die-rated tonnage ≥ 60% of press brake force (e.g., 100T machine → ≥60T dies).
For thick plates, use V/T > 8 to reduce bending force by 30%.
Material: Cr12MoV tool steel (HRC 58-62) outperforms standard alloy steel (3–5× lifespan).
Coating: TD coating (wear resistance) > Chrome plating (anti-rust) > Uncoated.
Punch height must fit within machine’s shut height (standard: 290–570mm).
Die height matches press brake table groove (common: 85/100/125mm).
Confirm shank size (e.g., 20/30/40mm) compatibility with quick-clamp toolholders.
Segmented dies: Verify alignment pin spacing (EURO: 50mm; JIS: 100mm).
High-use dies (e.g., V10/V20): Prioritize premium brands (WILA, ROJEK).
Custom shapes: Opt for local suppliers (cost ≈ 1/3 of imports).
Avoid "universal dies" for all thicknesses – accelerates wear.
Inspect straightness regularly (>0.05mm/m deviation requires regrinding).
Error-Proofing: Color-code V-openings (e.g., blue=V16, yellow=V25).
Quick Change: Use hydraulic clamping (changeover <5 mins).
Collision Avoidance: Set die protection zones in CNC systems.
Material/Thickness
Calculate V/R
Choose Die Type
Verify Force & Compatibility
Select Material/Coating
Cost Analysis
Test Bend
MANDATORY TEST: Perform springback compensation on first-piece trial (e.g., bend to 92° for 90° target). Record parameters for process library.
Share part drawings with suppliers for collaborative selection.
For complex geometries: Request sample bending before full procurement.
Prioritize ISO-certified dies (e.g., DIN 55220, JIS B 5063) for guaranteed tolerances.
Adhering to these principles reduces trial costs by ≥20% and ensures consistent bend quality.